Generate Attributes
Generate Attributes generate geometry that follows a road lane — guardrails, barriers, fences, trees, lamp posts, power lines, and (with lofting) bridges and interchanges. Like all attributes they are driven by keys placed along the lane; between keys the generated geometry follows the lane and blends the per-key transform smoothly.
You create a Generate Attribute as an Attribute Profile asset — pick one of the types below — then add it to a lane and place keys with the Attribute sub-mode.
Types
Spline Mesh — sweep a static mesh into a spline mesh along the lane.
Component Template — repeat a scene component along the lane.
Actor Template — spawn an actor repeatedly along the lane.
Lofting (Pro) — extrude 2D cross-sections into a continuous surface (bridges, tunnels, decks).
They all derive from the Generate base class, so they share the anchor, alignment and per-key transform described below.
How a Generate Attribute follows the lane
Each key positions the generated geometry with an anchor on the road surface plus a transform. Between keys the
geometry is subdivided into small segments (roughly LengthOfSegment cm apart) and the transform is interpolated, so
the run bends and twists smoothly with the road.
Alignment decides where the anchor sits across the lane:
Auto— anchor at the geometric center of the lane/zone (Alphais ignored).Fixed— anchor placed byAlpha:0= inner edge,0.5= center,1= outer edge.
Per-key transform channels:
Field |
Interp |
Purpose |
|---|---|---|
|
cubic |
Anchor position across the lane (only in |
|
cubic |
Cross-section scale — X = lateral, Y = vertical |
|
cubic |
Cross-section offset [cm] — X = R-axis (lateral), Y = H-axis (height) |
|
cubic |
Rotation around the road tangent (S-axis) [degrees] |
|
stepped |
Mirror the cross-section along X (left ↔ right) |
|
stepped |
Skip this key’s segment (leave a gap) |
|
stepped |
|
|
stepped |
Enable a manual width override |
|
stepped |
Override [cm]: distance from the anchor to each boundary |
Create new Attribute
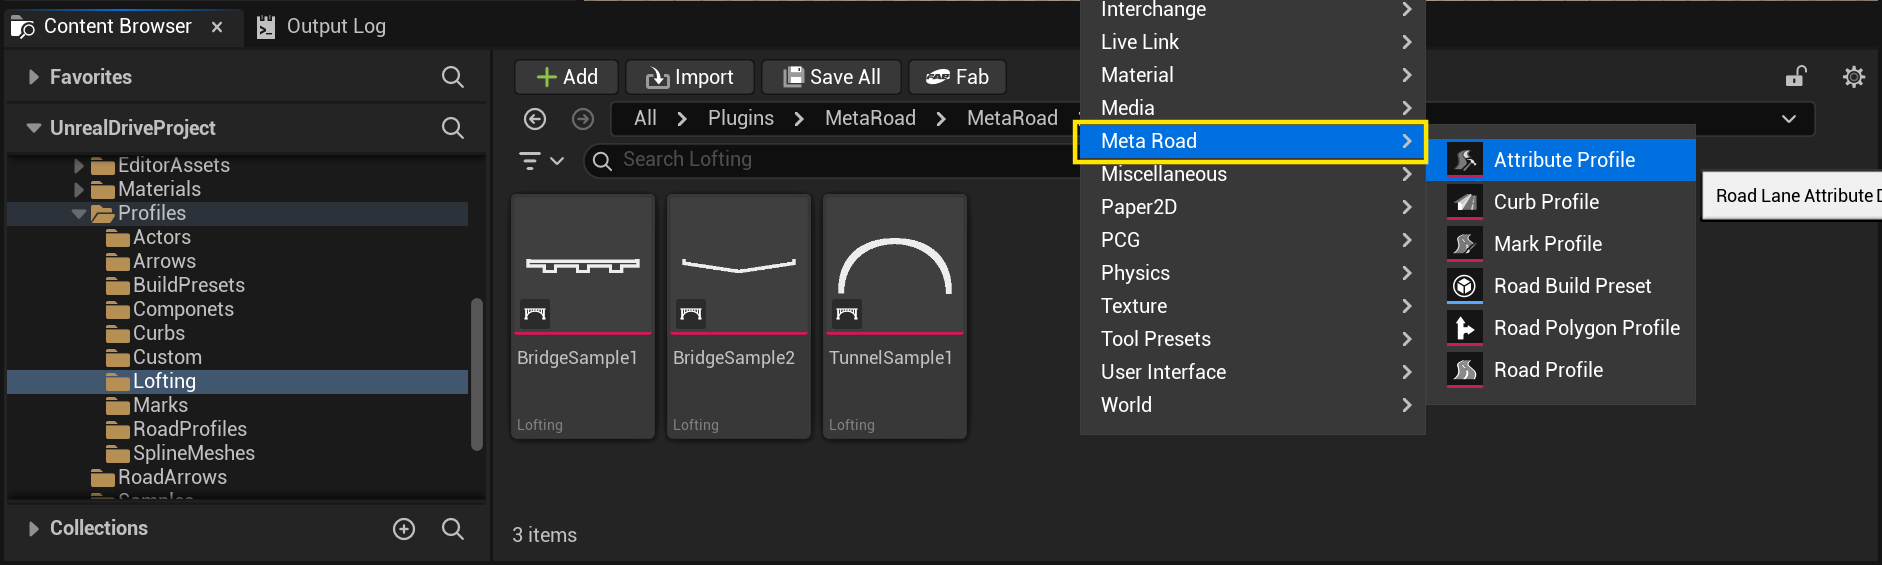
Create a new attribute from the Content Browser under the Meta Road category:
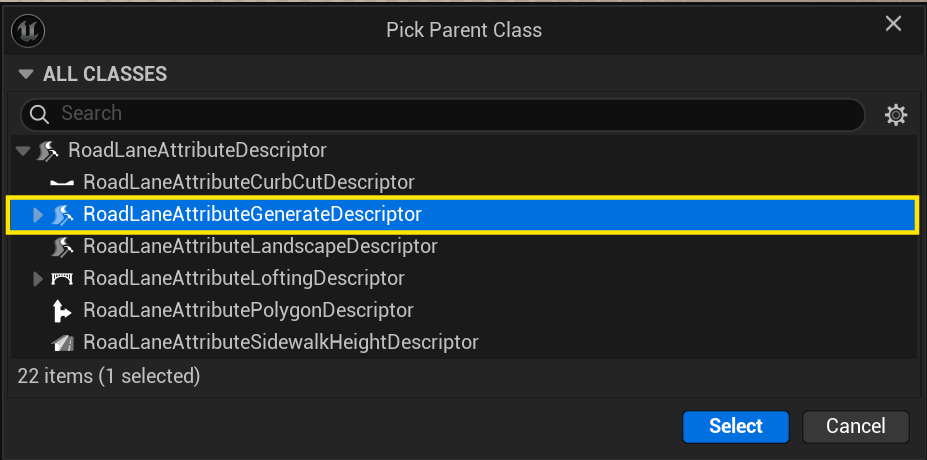
In the Pick Parent Class dialog choose RoadLaneAttributeGenerateDescriptor:
The Generate base class
URoadLaneAttributeGenerateDescriptor (Blueprint/C++ display name Generate) is the base class of every Generate
Attribute. It generates nothing by itself — the plugin’s mesh pipeline (FSplineMeshOp) reads the lane’s keys, walks
the anchor path, and calls a single method — GenerateAsset() — once per segment. You override that method to
emit whatever geometry you want. Subclassing Generate in Blueprint and overriding GenerateAsset() is the
primary way to build your own custom attribute — no C++ required. Use it directly when the types above
don’t fit.
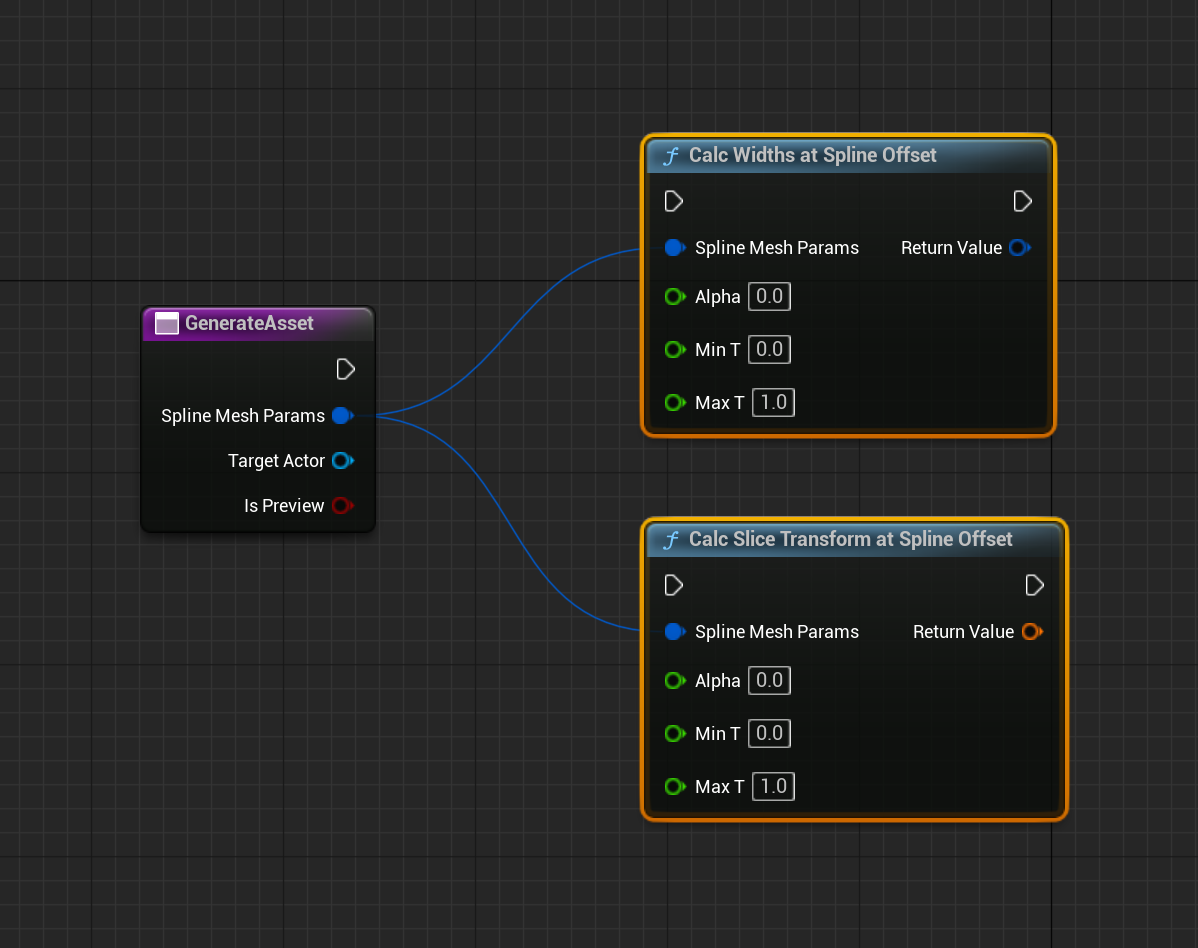
What GenerateAsset receives
The event fires once for every segment the pipeline produced along the lane:
Parameter |
Type |
Meaning |
|---|---|---|
|
|
The road-aware geometry of this one segment (detailed below). |
|
|
The road actor to attach your generated components / actors to. |
|
|
|
GenerateAsset() is a const Blueprint event: it doesn’t return anything and shouldn’t mutate the descriptor — it
builds geometry onto TargetActor (add a component, spawn an actor) each time it is called.
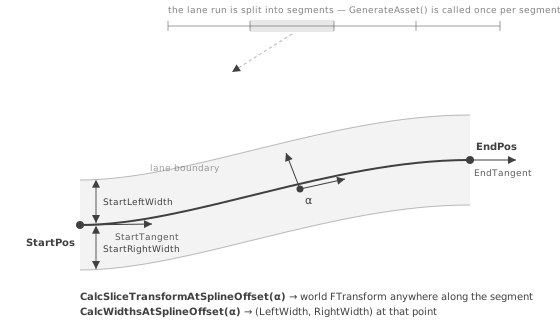
FReferenceSplineMeshParams — one segment
FReferenceSplineMeshParams is everything you need to place geometry for a single segment. The pipeline has already
resolved the anchor (Alignment / Alpha), the lane width, and the per-key transform channels into a plain Hermite
spline segment plus the lane widths at each end:
Field |
Meaning |
|---|---|
|
Segment endpoints, in the road actor’s local space. |
|
Hermite tangents — the segment curves smoothly between them. |
|
The per-key |
|
Distance [cm] from the anchor to the left / right lane boundary at each end — use these to size geometry to the lane. |
It extends FSplineMeshParams, so it drops straight into a USplineMeshComponent (its SplineParams) — that is
exactly how the built-in Spline Mesh type works.
Two Blueprint helpers
Because a segment is a curved span, you rarely want the raw endpoints — you want a point along it. Two static
Blueprint-callable helpers on the base class do the math for you (both take Alpha in [MinT, MaxT], default 0..1):
CalcSliceTransformAtSplineOffset(SplineMeshParams, Alpha)→FTransform— the world transform at fractional positionAlphaalong the segment (0= start,0.5= middle,1= end). It applies the same offset / roll / scale blending as a spline mesh, so a mesh or actor placed there sits flush with the road. This is how the Component and Actor types place their object (viaComponentToSegmentAlign/ActorToSegmentAlign).CalcWidthsAtSplineOffset(SplineMeshParams, Alpha)→FVector2D(LeftWidth, RightWidth)— the interpolated lane half-widths at that same point. Use it to stretch geometry across the lane or to place objects at the lane edges.
Build your own generate type
Create the asset — an Attribute Profile with RoadLaneAttributeGenerateDescriptor (Generate) as the parent class, as shown in Create new Attribute above.
Set the descriptor defaults:
LengthOfSegment(segment density),Sampler— By Length of Segment for a continuous run, Between Keys for exactly one object per key interval (point objects) —bAlignWorldUpVector(vertical props like poles and signs),bReversSplineDirection, and theAttributeValueTemplate(default Alignment / Alpha).Override the
GenerateAssetevent in the Blueprint graph. For each call: get a placement transform withCalcSliceTransformAtSplineOffset, size it to the lane withCalcWidthsAtSplineOffset, then spawn your actor / add your component and attach it underTargetActor. Branch onbIsPreviewto keep the preview lightweight.Use it — add the profile to a lane and place keys in the Attribute sub-mode.
Drag and Drop
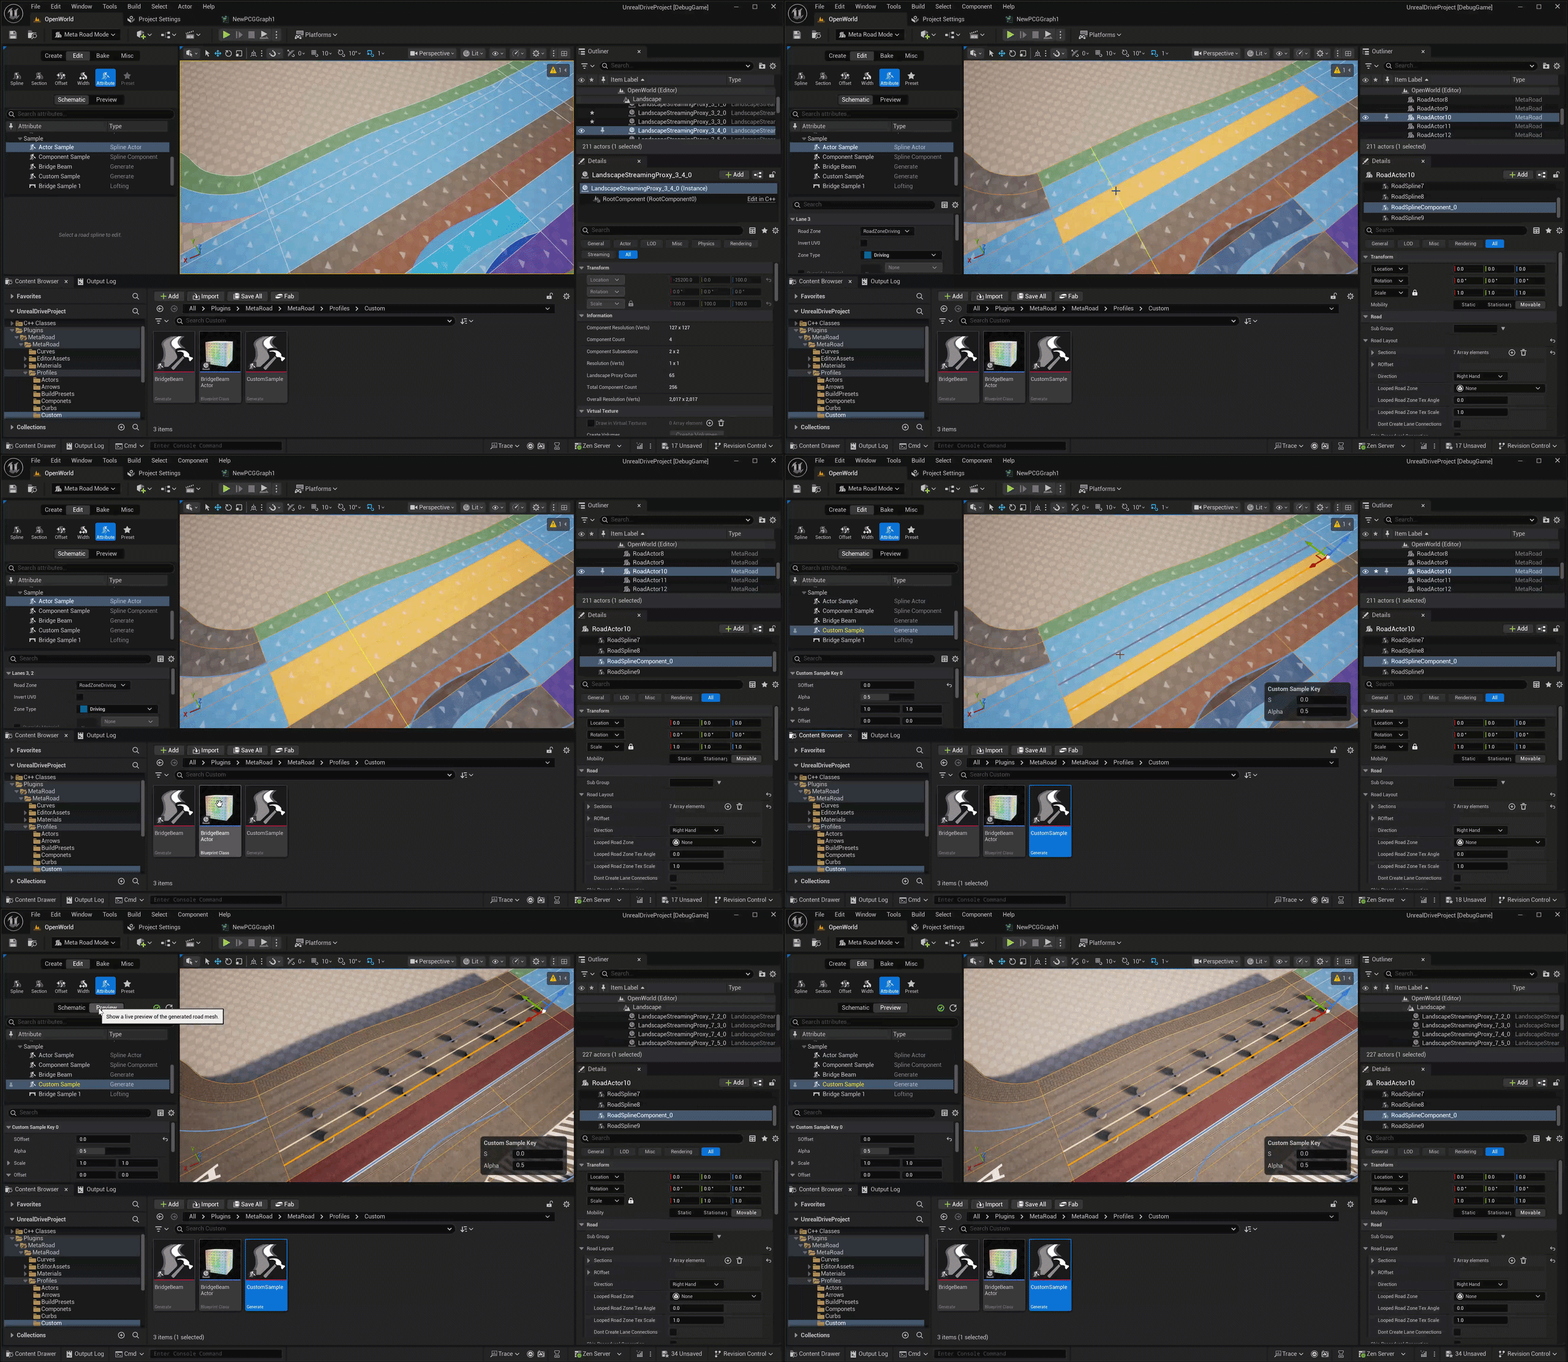
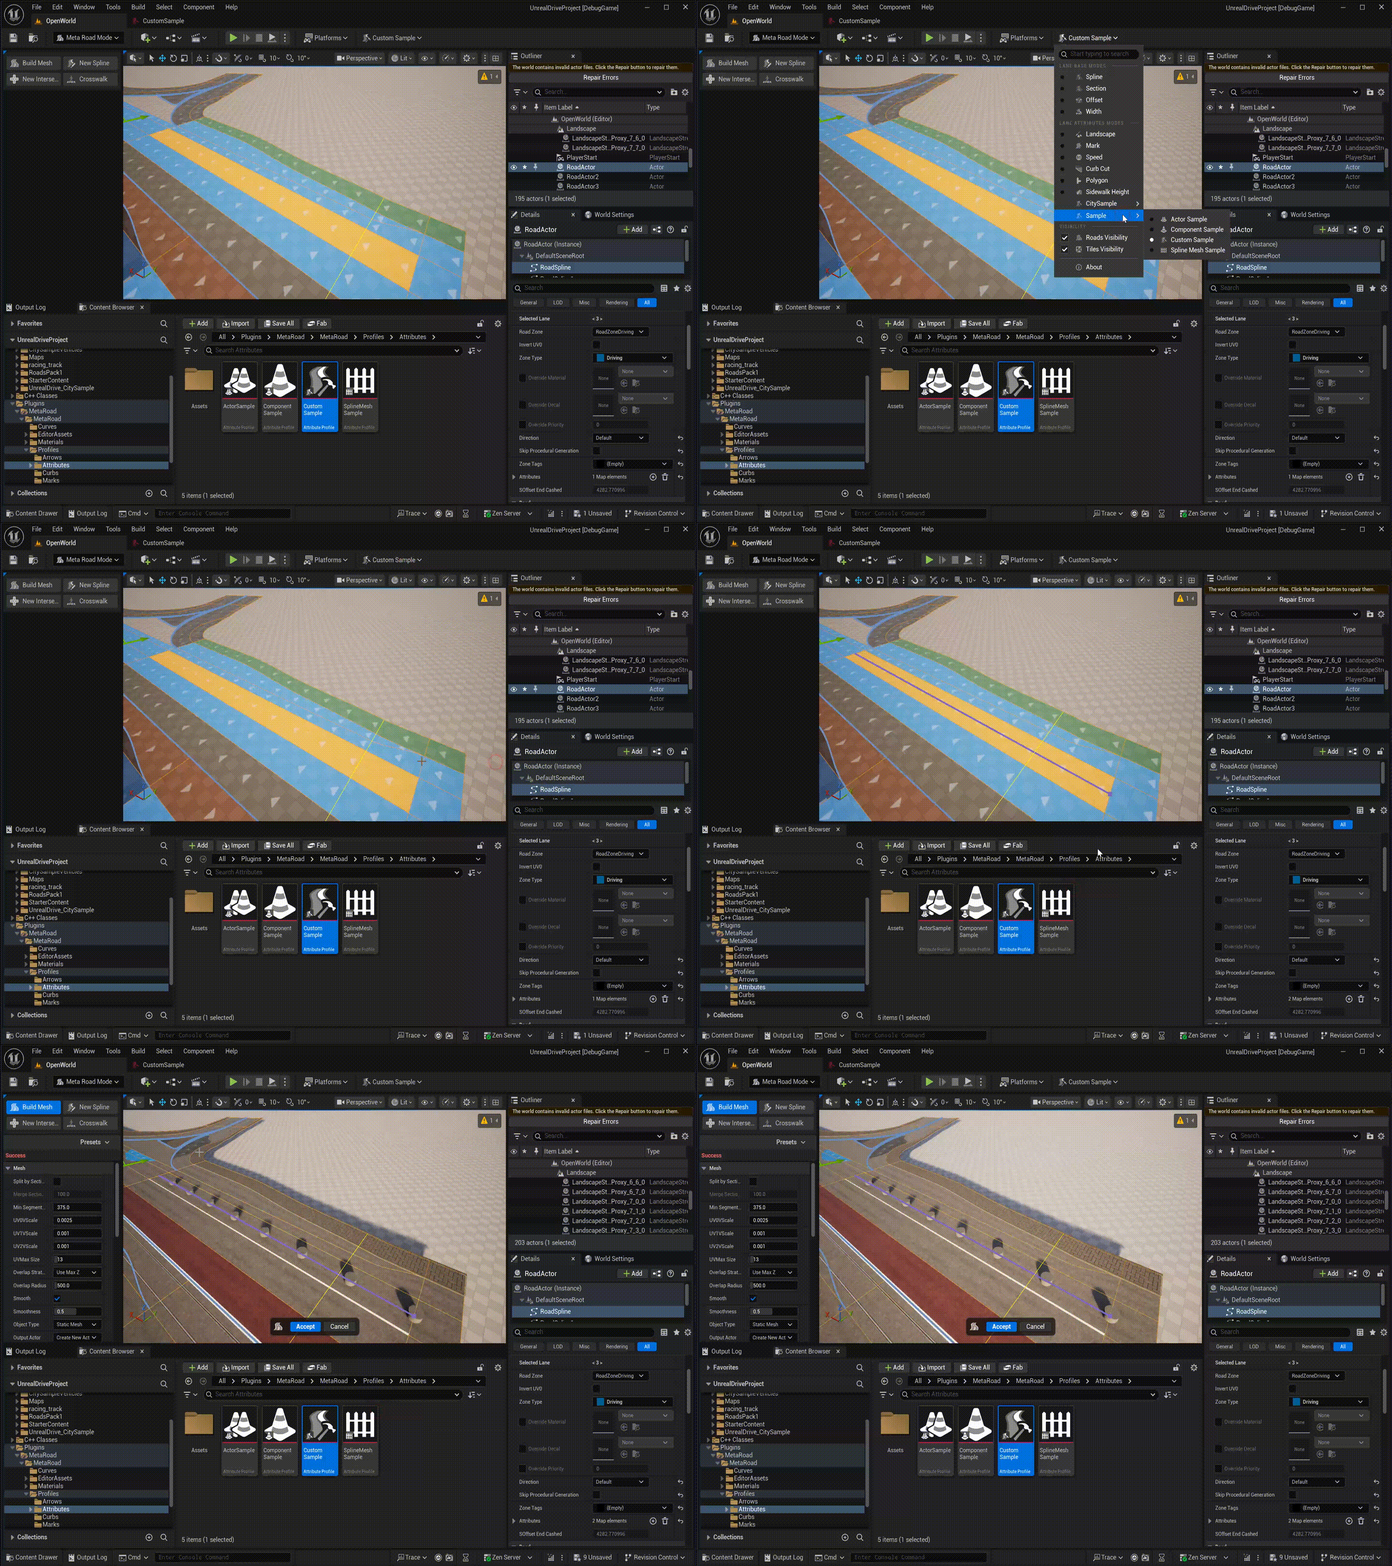
Drag a Generate attribute profile from the Content Browser onto a road lane to add it directly:
Examples
Custom Generate Attribute examples ship at /MetaRoad/MetaRoad/Profiles/Custom:
CustomSample— a minimal Generate subclass that overridesGenerateAsset().BridgeBeam— repeats a bridge-beam actor along the lane and computes each beam’s size.
See also
Attribute Profile — creating Generate-attribute assets.
Attribute Mode — adding attributes and placing keys.