Attribute Mode
Note
This is the Attribute tile in the Edit palette of the Meta Road editor mode (see The Meta Road Editor Mode).
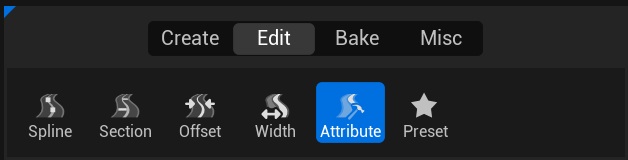
Attribute Mode adds and edits lane attributes — typed curves sampled along a lane that drive markings, guardrails, speed limits, landscape deformation, and more. This page covers how to edit attributes in the viewport; for the catalog of attribute types and how to create your own, see Attributes.
The attribute tree
Below the palette is the attribute tree — a searchable list of every attribute type available in the project. Pick a type here to work with it; the viewport then shows that attribute’s keys on the selected road.
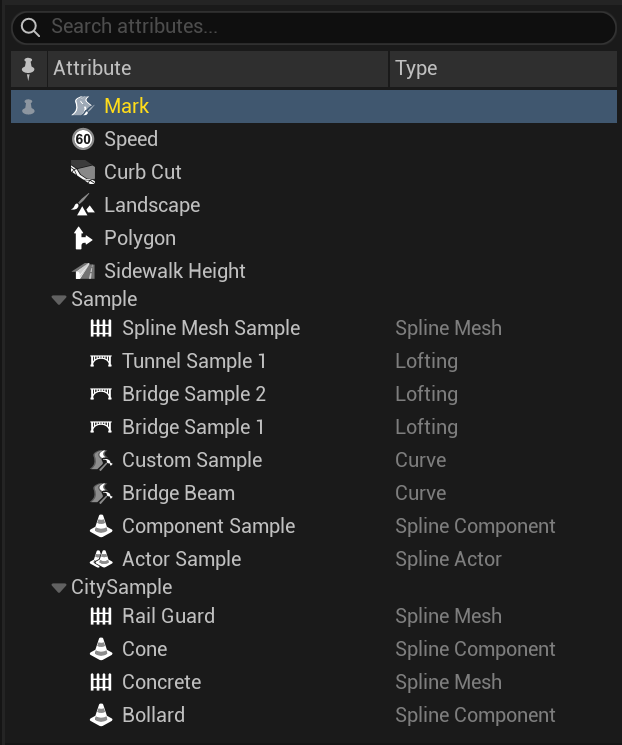
The tree lists all registered attribute types — both the built-in native (C++) ones and any defined in Blueprint. Types are grouped by category (uncategorized types sit at the top level; categories expand). It has three columns:
Column |
Meaning |
|---|---|
Pin |
A push-pin toggle that adds/removes this attribute on the selected lane(s) — see Pin below |
Attribute |
The attribute’s display name and icon |
Type |
For a Blueprint attribute, the native C++ type it derives from (dimmed); blank for native types |
Use the search box at the top to filter the list by name (it also matches category names).
Click a type to make it the active one — the viewport switches to editing that attribute’s keys. One type is always active; you cannot leave the tree with nothing selected.
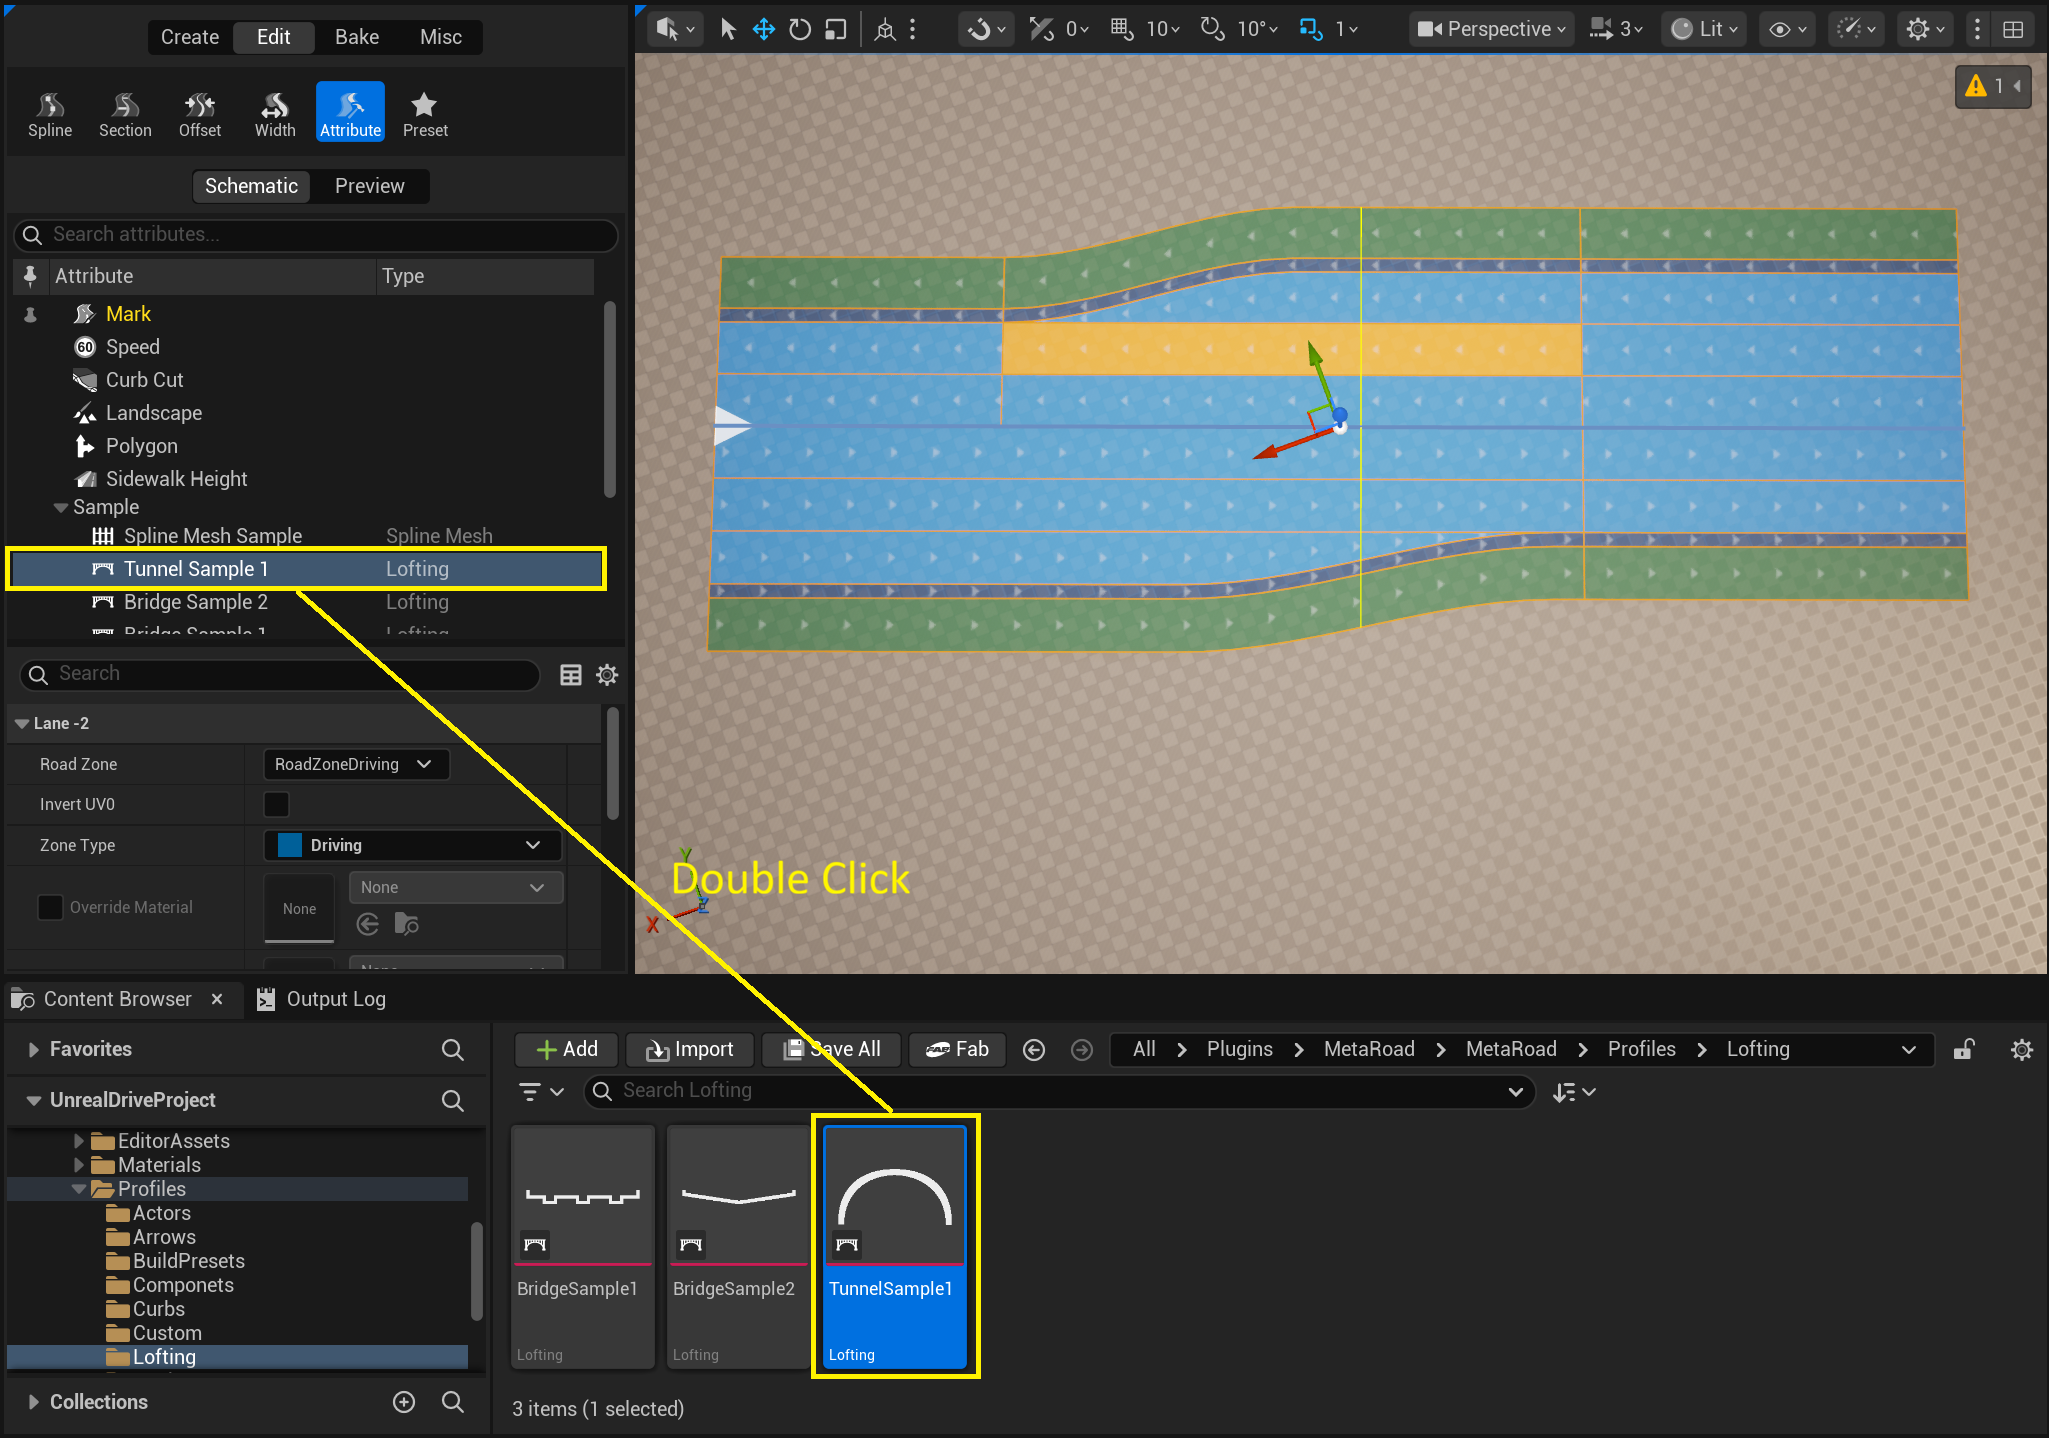
Double-click a Blueprint attribute to reveal its asset in the Content Browser (native types have no asset, so double-clicking them does nothing).
Pinning an attribute to a lane
The Pin column is a shortcut for putting an attribute on a lane without using the viewport context menu. It acts on the current lane selection — including a multi-lane selection — and its icon is tri-state:
Pin state |
Attribute is present on… |
Clicking it |
|---|---|---|
|
all selected lanes |
removes it from all of them |
Empty |
none of them |
adds it to every selected lane |
Partially filled |
some (mixed selection) |
adds it to the lanes that lack it |
Lanes that already carry the attribute keep their existing keys. You need a lane or section selected for the Pin column to be active (selecting just a section targets its center lane).
Adding an attribute and its keys
An attribute is added to a lane in one of two ways:
 Pin — click the attribute’s Pin in the tree. The quickest way, and it works
across a multi-lane selection.
Pin — click the attribute’s Pin in the tree. The quickest way, and it works
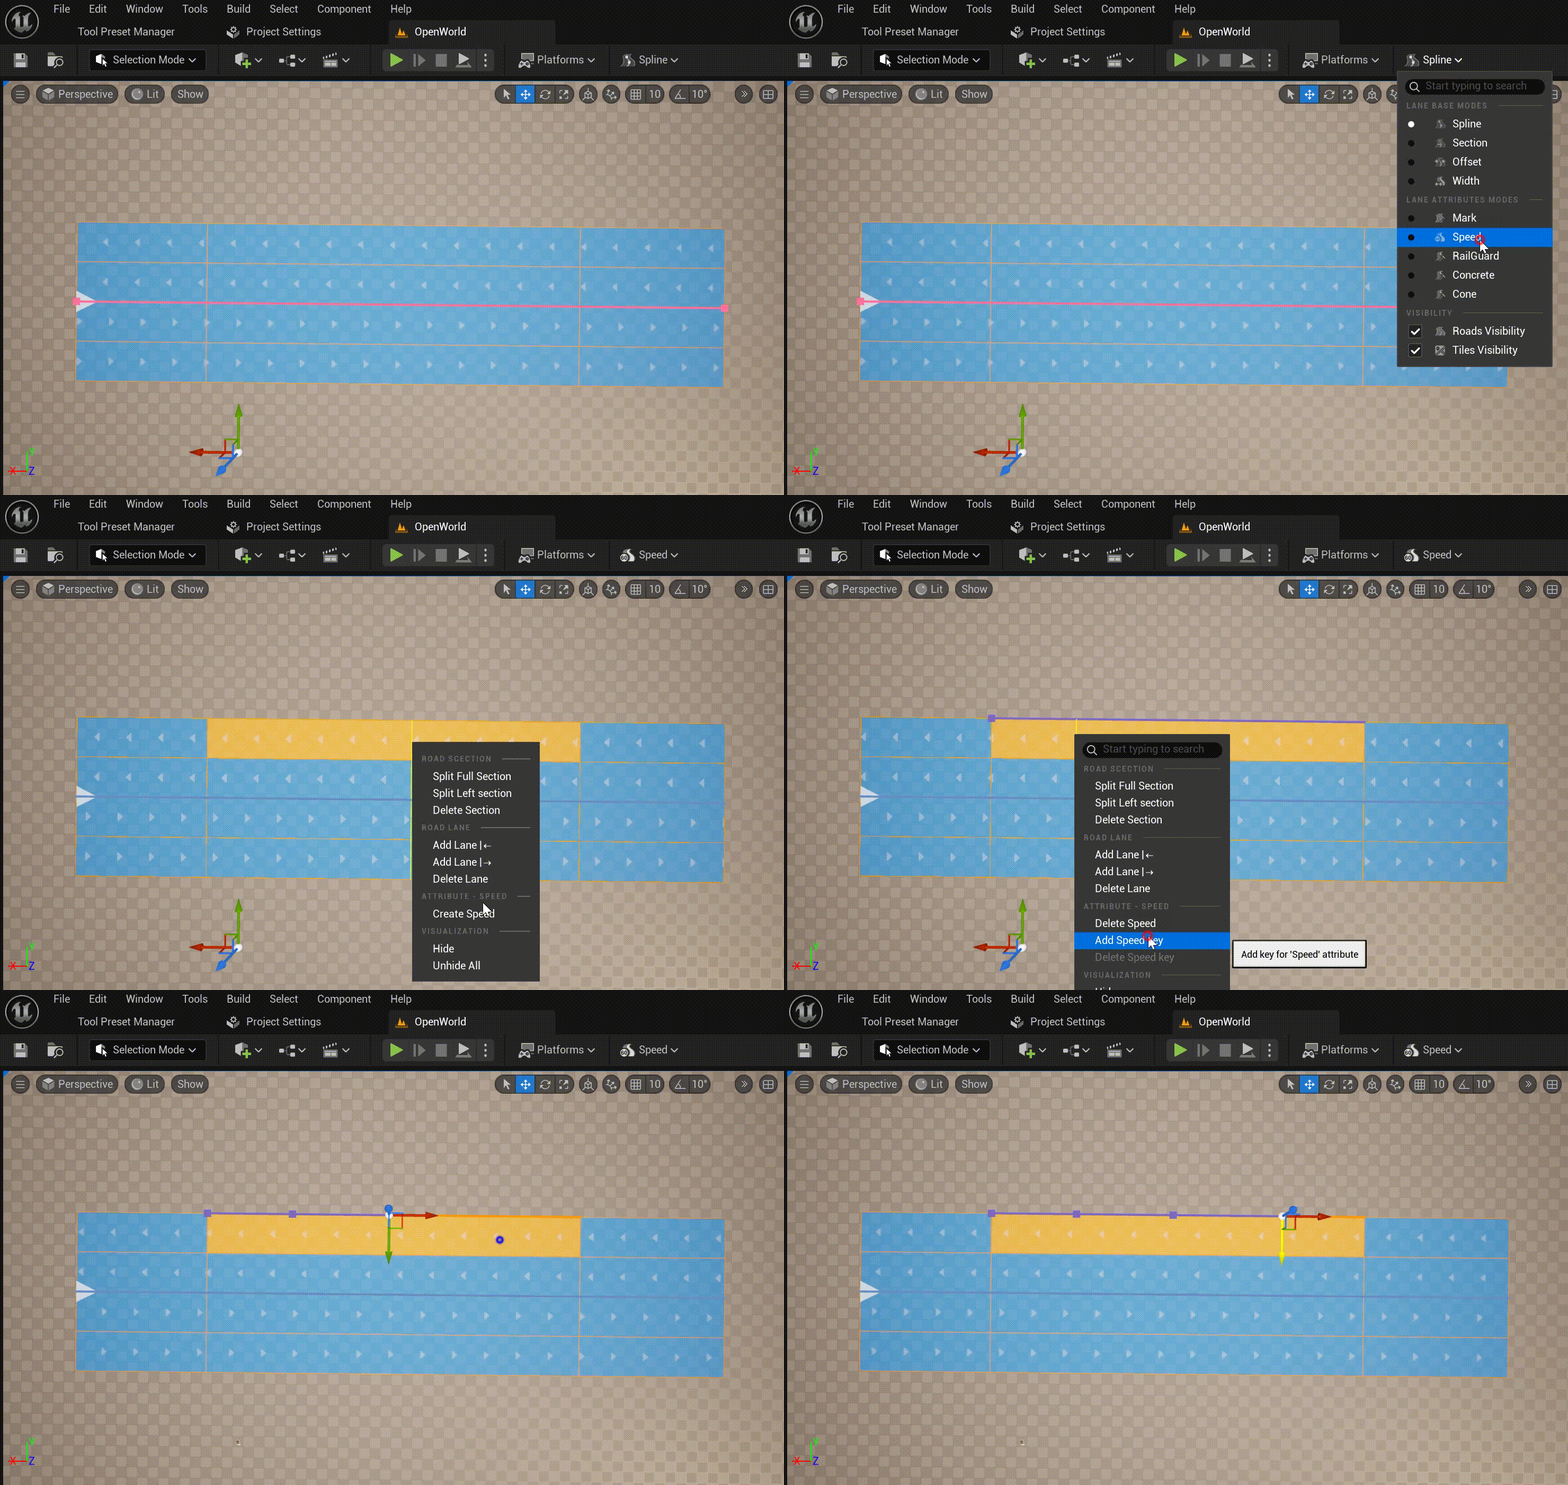
across a multi-lane selection.Context menu — right-click the lane in the viewport and choose Create AttributeName.
The full flow, from picking a type to placing keys:
Select the Attribute tile and choose the attribute type in the tree.
Select the target Road Lane.
Add the attribute to that lane using Pin or the Create AttributeName context-menu entry (see the two ways above).
Add Attribute Keys along the lane from the right-click context menu — each key carries the attribute’s data at that arc-length position.
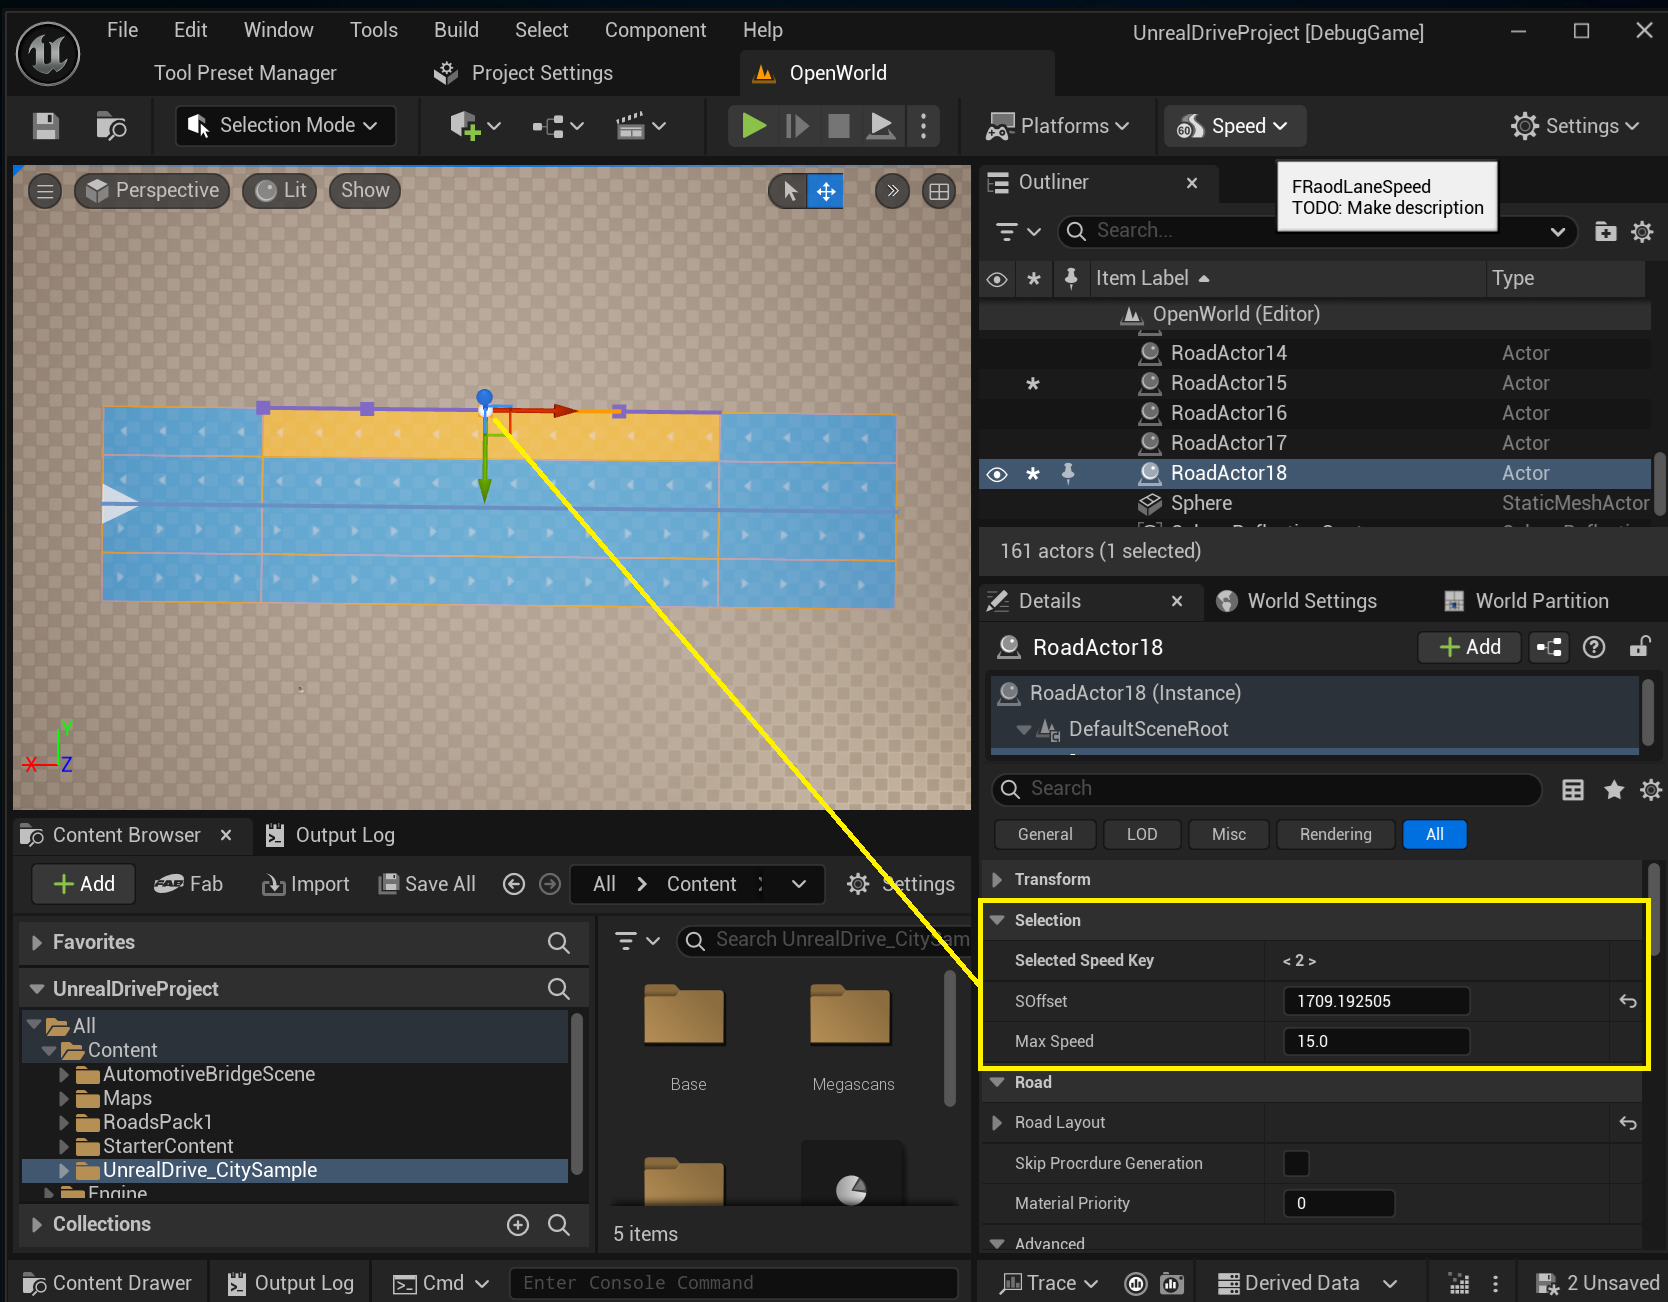
Selection
In the Details panel, the Selection group edits the selected Attribute Key:
See also
Attributes — how attributes work (keys, interpolation, storage) and the full catalog of types (speed, road marks, curb cuts, landscape, sidewalk height, polygon, …).
Generate Attributes — generate spline meshes, components, or actors along a lane.
Profiles — register a new attribute type as an asset.