Draw Crosswalk Tool (Pro)
Note
This is the Crosswalk tile in the Create palette of the Meta Road editor mode (see The Meta Road Editor Mode). (Pro feature.)
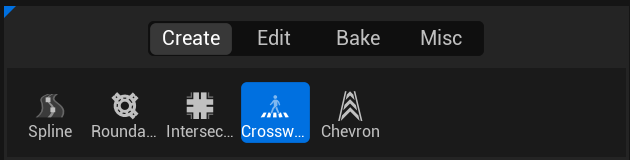
The Draw Crosswalk Tool lets you place pedestrian crosswalks on road actors with a single click-drag gesture. Each
crosswalk is stored as a UCrosswalkComponent attached to the selected actor and participates in
baking together with the road surface.
Requirements
Exactly one actor containing at least one URoadSplineComponent must be selected before activating the tool.
Drawing a crosswalk
Select an actor that contains a
URoadSplineComponent.Activate the Crosswalk tile in the Create palette.
Press and hold LMB at the start of the crosswalk — the tool raycasts against world geometry (or falls back to Z=0 if nothing is hit).
Drag to set the length and direction — a live stripe preview updates in the viewport.
Release LMB to place the crosswalk. The tool stays active, so you can place more without re-activating it.
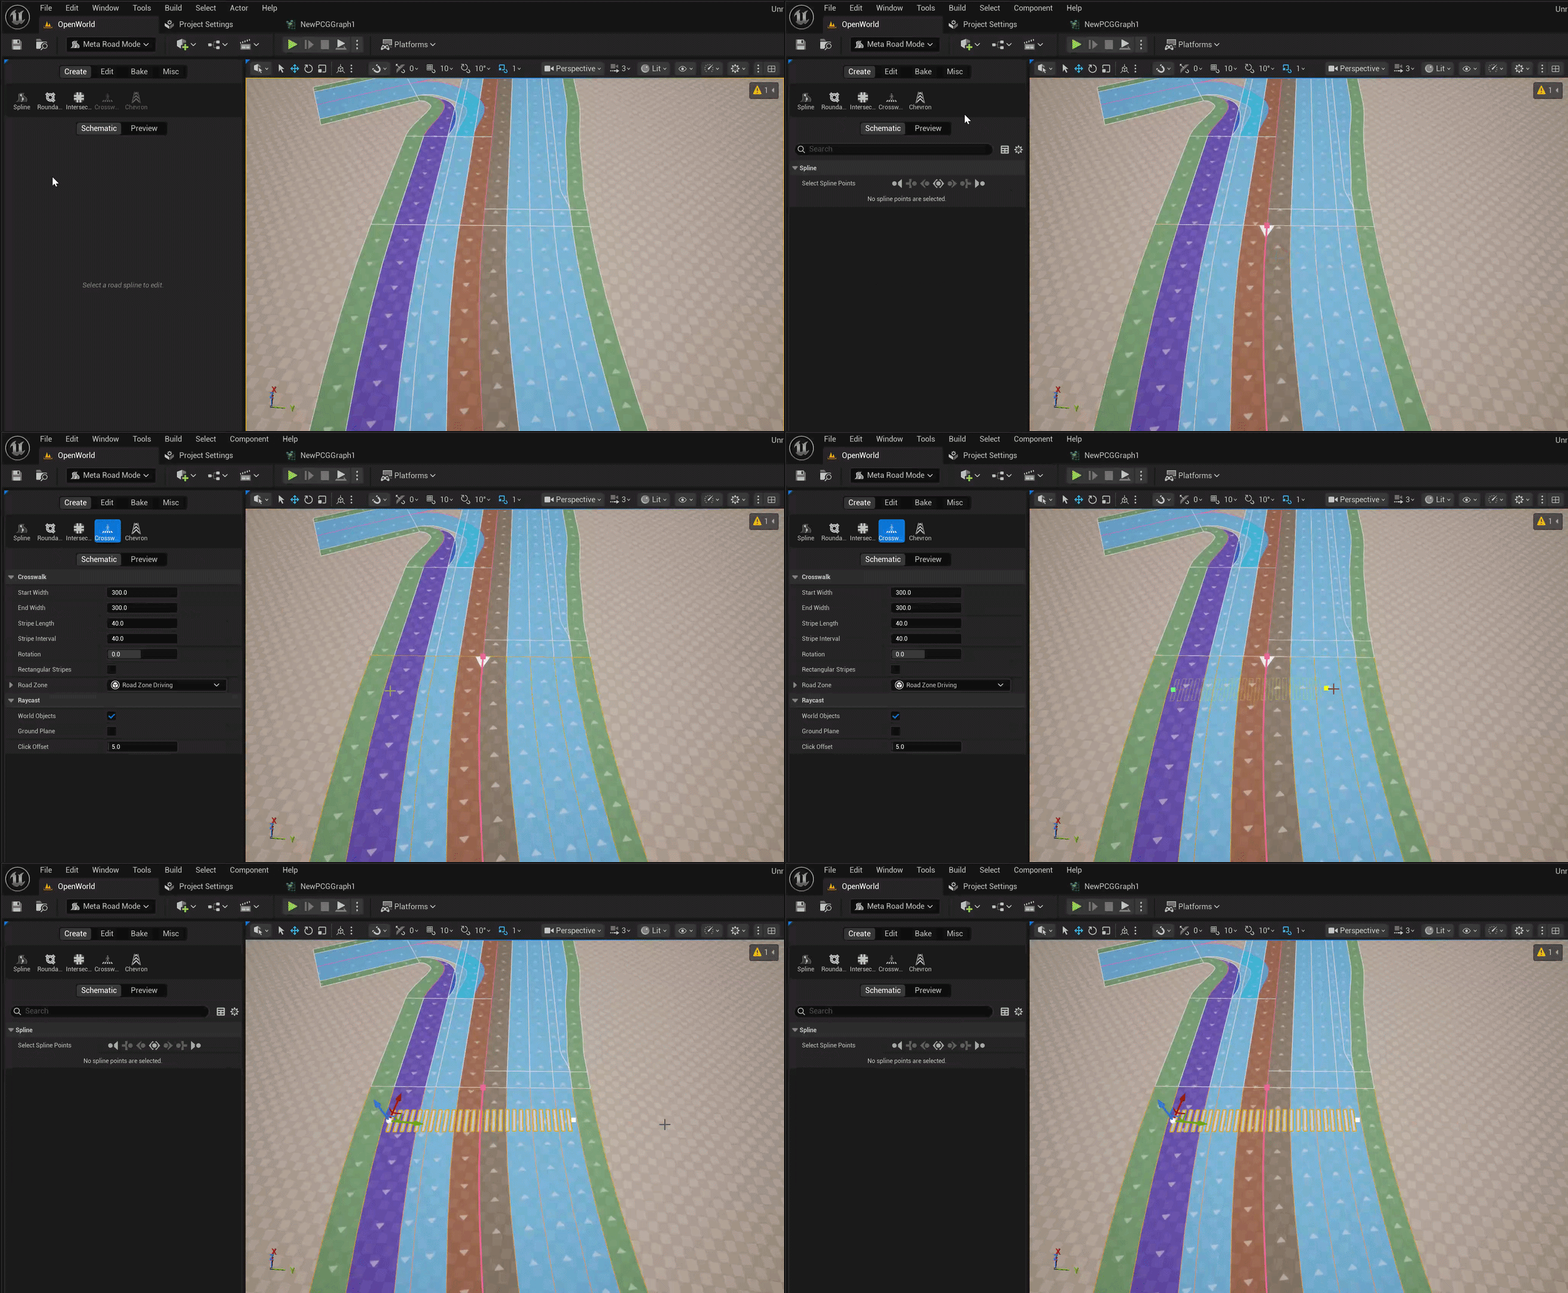
After placement, you can also drag the start/end handles directly in the viewport.
Properties
After placement, edit the UCrosswalkComponent in the Details panel (all lengths in cm):
Property |
Default |
Description |
|---|---|---|
|
(400, 0, 0) |
End of the crosswalk center line, in local component space. Drag the end handle in the viewport or set it here |
|
300 |
Crosswalk width at the start (origin) end |
|
300 |
Crosswalk width at the |
|
40 |
Length of each stripe along the center line |
|
40 |
Gap between consecutive stripes |
|
0° |
Rotation of each stripe around its own center (clamped to ±45°) |
|
off |
on — each stripe is a uniform-width rectangle; off — a trapezoid (width interpolated at the stripe edges) |
|
— |
Road surface type (material/color) applied to the generated stripe polygons |
|
0° |
UV texture rotation, in degrees |
|
1.0 |
UV texture scale multiplier |
Next steps
Add road markings and objects along the road with Attributes.
Bake to generate the crosswalk mesh together with the road.